Sesame Garlic Whole Chicken Recipe – Meal-Prep and Easy Dinner
In the world of home cooking, few things are as iconic, comforting, and versatile as a perfectly roasted whole chicken. However, the standard salt-and-pepper bird, while classic, can sometimes lack the “wow” factor needed to revitalize your weekly dinner routine. Enter the Sesame Garlic Whole Chicken. This recipe isn’t just a meal; it is a culinary strategy designed to provide a burst of umami-rich flavor while serving as the cornerstone for a week of high-quality meal prepping.
By combining the deep, nutty notes of toasted sesame oil with the pungent, aromatic punch of fresh garlic and the savory depth of soy sauce, you create a roast chicken that transcends traditional boundaries. This guide will walk you through every nuance of the process—from selecting the right bird to mastering the science of crispy skin, and finally, transforming your leftovers into a variety of gourmet-style dishes.
The Science of Flavor: Why Sesame and Garlic?
Before we dive into the oven temperatures and prep times, it is essential to understand why this flavor profile is so successful. The pairing of sesame and garlic is a staple in many Asian cuisines for a reason: it hits multiple palate points simultaneously.
- Aromatic Garlic: Garlic contains sulfur compounds that, when heated, mellow into a sweet, savory base. By using a generous amount of garlic in the marinade, you ensure that the flavor permeates the meat fibers, not just the skin.
- Nutty Sesame: Toasted sesame oil has a high smoke point and an incredibly potent aroma. It provides a rich, fatty mouthfeel that complements the lean white meat of the chicken breast.
- The Maillard Reaction: The addition of a small amount of honey or brown sugar to the sesame-garlic paste encourages the Maillard reaction—a chemical reaction between amino acids and reducing sugars that gives browned food its distinctive flavor and golden-brown color.
Choosing the Perfect Chicken
To achieve a five-star result, you must start with a high-quality protein. When shopping for your Sesame Garlic Whole Chicken, keep the following factors in mind:
- Size Matters: For the best flavor-to-cook-time ratio, look for a “fryer” or “roaster” chicken weighing between 3.5 and 4.5 pounds. Larger birds often take too long to cook, risking the breast meat drying out before the thighs are done.
- Air-Chilled vs. Water-Chilled: If your budget allows, opt for air-chilled chicken. Water-chilled poultry absorbs excess moisture during processing, which can lead to soggy skin. Air-chilled birds roast much more crisply.
- Organic and Pasture-Raised: These chickens generally have a deeper flavor profile and a more natural fat distribution, which enhances the richness of the sesame oil.
Essential Kitchen Tools for Success
You don’t need a professional kitchen to master this recipe, but having the right tools makes the process seamless:
- A Heavy Roasting Pan or Cast-Iron Skillet: Cast iron is particularly effective because it retains heat beautifully, helping to sear the bottom of the chicken.
- Kitchen Twine: Trussing (tying) the chicken ensures it cooks evenly.
- Instant-Read Meat Thermometer: This is the only way to guarantee a juicy bird. Relying on “clear juices” is a myth that often leads to overcooking.
- A Silicone Basting Brush: Essential for applying that thick sesame garlic glaze.
The Signature Sesame Garlic Marinade
This marinade is the heart of the dish. It serves as both a tenderizer and a flavor-builder.
Ingredients:
- Fresh Garlic: 8–10 cloves, minced into a fine paste.
- Toasted Sesame Oil: 4 tablespoons (look for the dark, toasted variety).
- Soy Sauce or Tamari: 1/4 cup (Tamari makes the dish gluten-free).
- Fresh Ginger: 1 tablespoon, grated (adds a bright, spicy top note).
- Honey or Maple Syrup: 2 tablespoons (for caramelization).
- Rice Vinegar: 1 tablespoon (the acidity cuts through the fat).
- Toasted Sesame Seeds: 2 tablespoons (added at the end for texture).
- Red Pepper Flakes: 1 teaspoon (optional, for a subtle heat).
- Black Pepper: To taste. (Avoid extra salt, as the soy sauce provides plenty).
Step-by-Step Preparation Guide
1. Preparation and Drying
The enemy of crispy skin is moisture. Remove the chicken from its packaging and pat it thoroughly dry with paper towels—inside and out. If you have time, leave the chicken uncovered in the refrigerator for 2 to 4 hours to further air-dry the skin.
2. The Seasoning Process
Gently loosen the skin over the breast meat using your fingers. Slide a small amount of the garlic-sesame mixture under the skin. This ensures the flavor penetrates the meat directly. Rub the remaining marinade over the entire exterior of the bird and inside the cavity.
3. Aromatics for the Cavity
Don’t let the inside of the bird go to waste. Stuff the cavity with:
- Half an onion.
- A few smashed garlic cloves.
- A bundle of green onions.
- A slice of fresh ginger.
4. Trussing the Bird
Trussing isn’t just for aesthetics. By tying the legs together and tucking the wings under the body, you prevent the extremities from burning and keep the breast meat from being over-exposed to the heat.
5. The Roasting Process
Preheat your oven to 425°F (218°C).
- Initial Blast: Roast the chicken at 425°F for the first 15–20 minutes. This high heat jumpstarts the skin crisping process.
- The Slow Finish: Reduce the oven temperature to 375°F (190°C). This lower temperature allows the internal meat to reach the safe temperature of 165°F (74°C) without the outside burning.
- Basting: Every 20 minutes, use a spoon or brush to coat the bird in the rendered fats and juices from the bottom of the pan.
6. The Resting Phase (Critical Step)
Once the internal temperature in the thickest part of the thigh reaches 165°F, remove the chicken from the oven. Transfer it to a cutting board and let it rest for at least 15 to 20 minutes. If you cut into it immediately, the juices will run out, leaving you with dry meat. Resting allows the juices to redistribute throughout the muscle fibers.
Meal Prep Mastery: One Chicken, Five Days of Meals
The brilliance of the Sesame Garlic Whole Chicken lies in its versatility. If you are cooking for one or two people, a 4-pound chicken provides enough protein for an entire week of varied lunches and dinners.
Day 1: The Classic Roast Dinner
Serve the freshly roasted chicken legs and thighs with a side of jasmine rice and steamed bok choy. Drizzle the pan drippings (liquid gold!) over the rice for an explosion of garlic-sesame flavor.
Day 2: Sesame Chicken Salad
Shred one of the chicken breasts. Toss it with shredded cabbage, carrots, edamame, and a quick vinaigrette made from more sesame oil, rice vinegar, and lime juice. Top with crunchy wonton strips and the leftover sesame seeds.
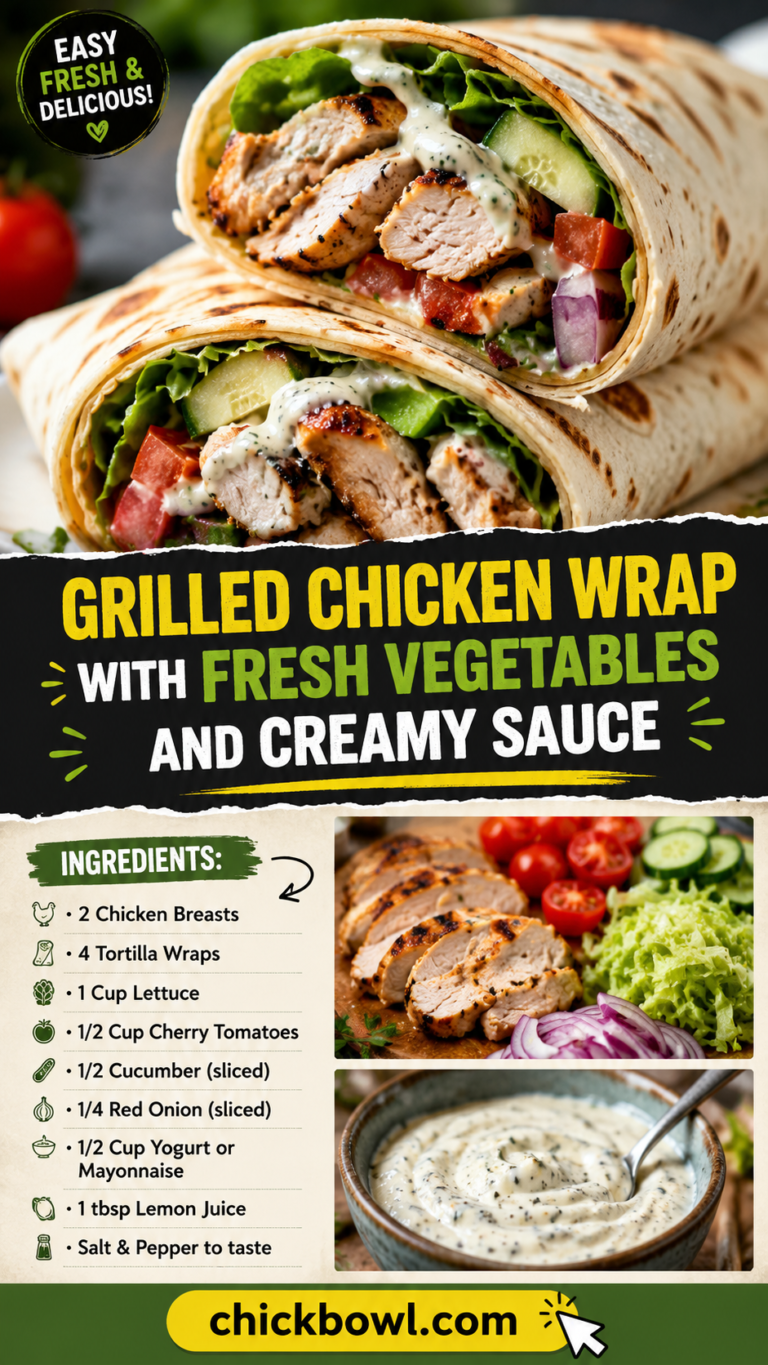
Day 3: Garlic Chicken Wraps
Use slices of the remaining breast meat. Spread a tortilla with a thin layer of hoisin sauce or spicy mayo. Add the chicken, sliced cucumbers, pickled radishes, and fresh cilantro. Roll it up for a fast, portable lunch.
Day 4: Sesame Chicken Stir-Fry
Dice any remaining meat. In a hot wok, toss some snap peas, bell peppers, and broccoli. Add the chicken at the very end just to warm it through. Season with a splash of soy sauce and a touch of ginger. Serve over rice noodles.
Day 5: The “Kitchen Sink” Bone Broth Soup
Never throw away the carcass! Place the bones in a pot with water, onion scraps, and celery. Simmer for 3–4 hours to create a rich, sesame-infused bone broth. Add any tiny scraps of meat left on the bones, some baby spinach, and a handful of noodles for a healing, nutrient-dense soup.
Troubleshooting Common Issues
- The skin is dark but the meat isn’t done: This happens if the honey in the marinade caramelizes too quickly. Simply tent the chicken loosely with aluminum foil and continue roasting.
- The meat is dry: You likely overcooked it or didn’t rest it. Always use a thermometer and aim for 160°F–162°F (it will rise to 165°F while resting).
- The garlic is burning in the pan: If the garlic in the pan drippings starts to look too dark, add half a cup of water or chicken stock to the bottom of the roasting pan to lower the temperature of the fat.
Why This Recipe Ranks as a Health Powerhouse
This Sesame Garlic Whole Chicken isn’t just delicious; it’s a nutritional win for several reasons:
- High Protein, Low Carb: This recipe is naturally keto-friendly and perfect for low-carb lifestyles.
- Healthy Fats: Sesame oil contains polyunsaturated and monounsaturated fats, which are heart-healthy alternatives to butter or lard.
- Immune Boosting: Garlic and ginger are renowned for their anti-inflammatory and immune-supporting properties.
- No Preservatives: Unlike rotisserie chickens bought at the supermarket, which are often injected with high-sodium brines and preservatives, you control every ingredient that goes into this bird.
Advanced Tips for the Home Chef
If you’ve mastered the basic recipe and want to take your Sesame Garlic Whole Chicken to the next level, consider these “pro” techniques:
The Spatchcock Method
To cook the chicken in nearly half the time and ensure even crispier skin, try spatchcocking (butterflying) the bird. Use kitchen shears to remove the backbone, then press the chicken flat. This exposes more skin to the heat and allows the dark and white meat to cook at a similar rate.
Cold-Start Roasting
Some chefs swear by placing the chicken in a cold oven and then turning the heat up. This allows the fat to render out more slowly, potentially leading to an even crispier skin.
Dry Brining
For the ultimate juicy meat, rub the chicken with salt 24 hours before you plan to cook it. This changes the protein structure, allowing the meat to hold onto more moisture during the roasting process. Simply add your sesame garlic marinade right before it goes into the oven.
Frequently Asked Questions (FAQs)
Can I use chicken quarters instead of a whole chicken? Yes. If you prefer just legs or breasts, you can use the same marinade. However, reduce the roasting time to approximately 30–40 minutes at 400°F.
How long does the cooked chicken last in the fridge? When stored in an airtight container, the Sesame Garlic Whole Chicken will remain fresh and delicious for 3 to 4 days.
Can I freeze the marinated chicken? Absolutely. You can place the raw chicken in a large freezer bag with the marinade. It will “marinate” as it thaws in the refrigerator the day before you cook it.
What if I don’t have toasted sesame oil? Regular sesame oil will work, but it lacks the deep, smoky flavor of the toasted version. In a pinch, you can use a neutral oil (like avocado oil) and add an extra tablespoon of toasted sesame seeds to the marinade.
Final Thoughts on the Sesame Garlic Whole Chicken
Roasting a whole chicken is a fundamental skill that every home cook should possess. By introducing the bold flavors of garlic and sesame, you transform a simple dish into a sophisticated meal that feels like it came from a high-end bistro.
Whether you are looking to impress guests at a Sunday dinner or seeking a streamlined way to manage your weekly meal prep, this Sesame Garlic Whole Chicken is the answer. It is cost-effective, nutritionally dense, and above all, incredibly satisfying. Grab a bird, start your marinade, and get ready for your kitchen to smell absolutely incredible.
This is more than just a recipe; it is your new go-to strategy for healthy, delicious, and efficient eating. Enjoy the process, and enjoy every bite!