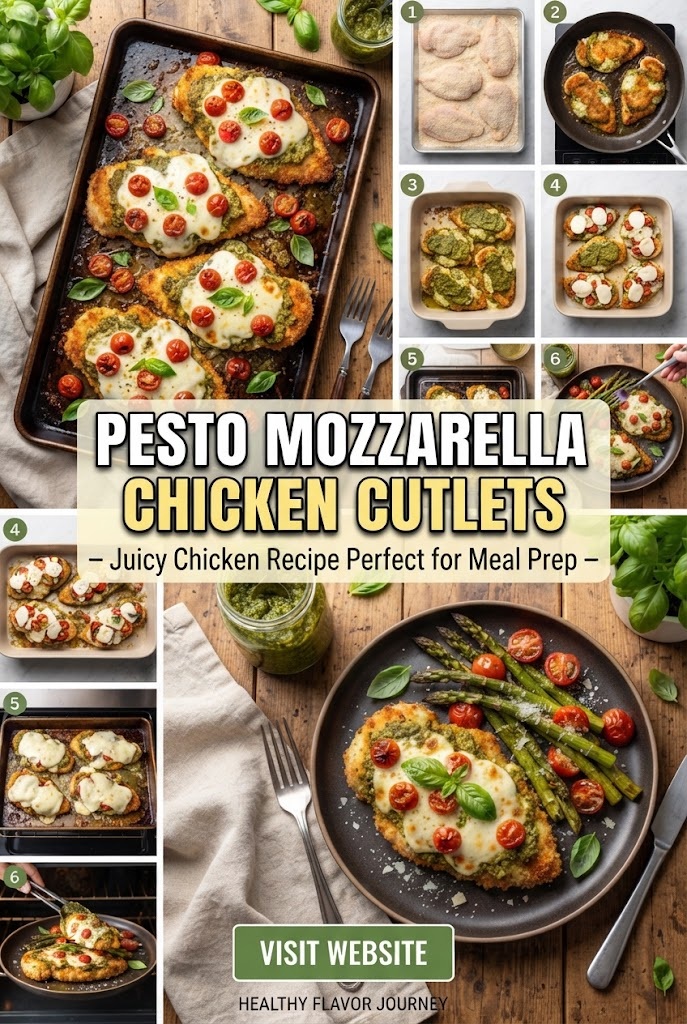
Pesto Mozzarella Chicken Cutlets – Juicy Chicken Recipe Perfect for Meal Prep
In the world of weeknight dinners and efficient meal prepping, few ingredients carry as much weight as the humble chicken breast. However, the chicken breast is often maligned for being dry, bland, or repetitive. Enter the Pesto Mozzarella Chicken Cutlet. This dish is a culinary powerhouse that bridges the gap between gourmet Italian flavors and the practical needs of a busy modern lifestyle.
By combining the herbaceous punch of basil pesto with the creamy, melt-in-your-mouth texture of mozzarella cheese, you transform thin, tenderized chicken cutlets into a meal that feels like a restaurant luxury but functions like a meal prep staple. Whether you are looking to impress guests at a dinner party or seeking a reliable, high-protein lunch that doesn’t lose its luster after three days in the fridge, this recipe is your new gold standard.
Why Pesto Mozzarella Chicken Cutlets are a Game Changer
What makes this specific recipe stand out in a sea of chicken breast recipes? It comes down to three pillars: moisture retention, flavor complexity, and versatility.
1. Moisture Retention
The biggest challenge with chicken cutlets is the risk of overcooking. Because cutlets are thin, they cook rapidly. By topping them with a layer of pesto and a thick blanket of mozzarella, you create a thermal barrier. This barrier traps the natural juices of the chicken underneath a layer of fats and oils, ensuring that every bite is succulent and tender.
2. Flavor Complexity
Pesto is a “cheat code” in the kitchen. It contains five essential flavor profiles: the earthiness of pine nuts, the sharp saltiness of Parmesan, the aromatic freshness of basil, the pungent heat of garlic, and the richness of olive oil. When these elements meet the mild, milky profile of mozzarella, you get a balanced flavor palette that requires very little extra seasoning.
3. High-Protein, Low-Carb Versatility
For those following specific dietary lifestyles like Keto or low-carb, this recipe is a dream. It is naturally high in protein and healthy fats while being almost entirely devoid of carbohydrates. Conversely, if you aren’t counting carbs, it pairs beautifully with pasta, crusty bread, or roasted potatoes.
The Core Components: Selecting the Best Ingredients
A recipe is only as good as its ingredients. Because this dish relies on a few key components, the quality of each matters significantly.
The Chicken: Cutlets vs. Whole Breasts
To achieve the perfect Pesto Mozzarella Chicken, you must start with cutlets. You can buy pre-cut cutlets, but it is often more cost-effective to buy whole boneless, skinless chicken breasts and butterfly them yourself.
- The Technique: Slice the breast horizontally and pound it to an even thickness of about 1/2 inch. This ensures that the chicken cooks evenly and remains tender.
- The Science: Even thickness prevents the thin edges from drying out while waiting for the thicker center to reach a safe internal temperature.
The Pesto: Homemade vs. Store-Bought
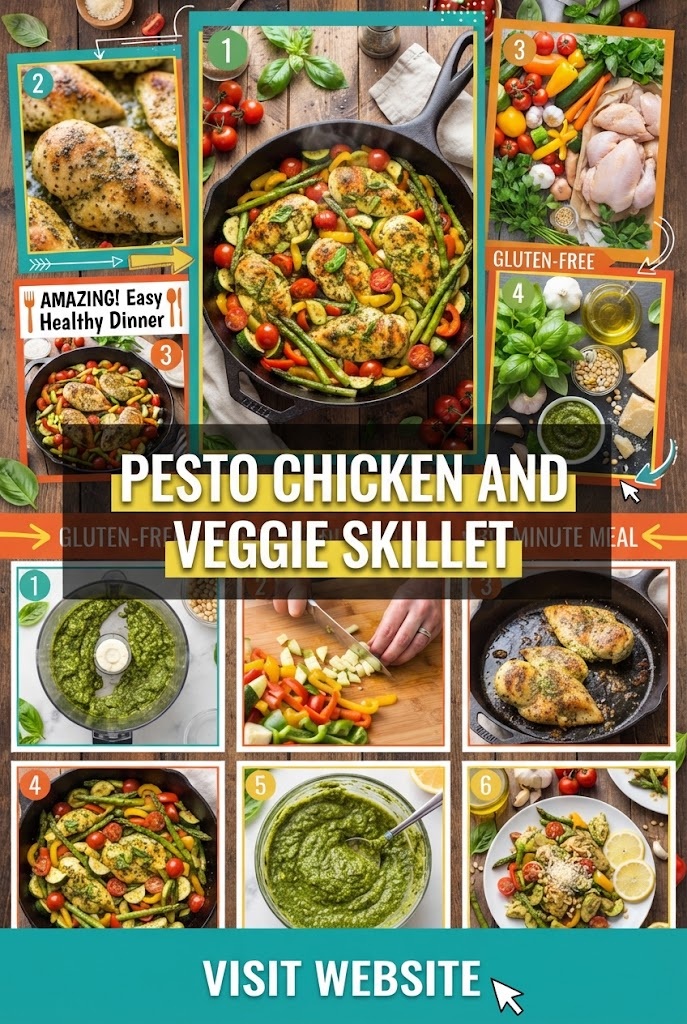
- Homemade: If time permits, making pesto in a food processor with fresh basil, toasted pine nuts (or walnuts for a budget-friendly swap), garlic, Parmigiano-Reggiano, and high-quality extra virgin olive oil will always yield the brightest flavor.
- Store-Bought: For meal prepping, high-quality refrigerated pesto (often found near the fresh pasta in grocery stores) is superior to the shelf-stable jarred varieties. Look for a vibrant green color; if it’s olive-drab or brown, the flavor will be dull.
The Mozzarella: Fresh vs. Low-Moisture
- Fresh Mozzarella (Ovals or Slices): This provides a beautiful, creamy aesthetic and a mild flavor. However, fresh mozzarella has a high water content. If using this, be sure to pat it dry to avoid a watery sauce on your plate.
- Low-Moisture Shredded Mozzarella: This is the king of “the cheese pull.” It melts more evenly and provides a salty, savory crust that many prefer for meal prep because it holds its structure better when reheated.
Step-by-Step Preparation Guide
Step 1: Prep and Season
Start by patting your chicken cutlets dry with paper towels. Moisture is the enemy of a good sear. Season both sides with a pinch of kosher salt and cracked black pepper. Remember, pesto is inherently salty, so go light on the added salt.
Step 2: The Perfect Sear
Heat a large skillet (cast iron or stainless steel is best) over medium-high heat with a tablespoon of avocado oil or olive oil. Sear the cutlets for about 2–3 minutes per side until they develop a golden-brown crust. They don’t need to be fully cooked through at this stage; they will finish in the oven or under the broiler.
Step 3: Layering the Flavors
Once seared, move the chicken to a baking sheet (if your skillet isn’t oven-safe). Spread a generous tablespoon of pesto over each cutlet. Follow this with a thick slice or a handful of mozzarella cheese.
Step 4: The Melt
Place the chicken under the broiler for 3–5 minutes. Watch it closely! You are looking for the mozzarella to bubble and develop small brown spots (the Maillard reaction), which adds a nutty depth to the cheese.
Step 5: Resting
Allow the chicken to rest for at least 5 minutes before serving or packing into meal prep containers. Resting allows the muscle fibers to relax and reabsorb the juices.
Mastery Techniques for Perfect Chicken Cutlets
To elevate this dish from a standard home meal to a professional-grade experience, consider these “pro tips” used by chefs:
The “Dredge” Option
While this recipe is excellent as a “naked” seared cutlet, you can add a light dredge of almond flour or Parmesan cheese before searing. This creates a crust that the pesto can cling to more effectively.
Deglazing the Pan
Don’t let the brown bits (fond) in your skillet go to waste. After searing the chicken, splash a little white wine or chicken broth into the pan. Stir it up and pour those concentrated flavors over your chicken before adding the pesto.
The Temperature Rule
Always use an instant-read meat thermometer. Chicken is safe and most juicy at 165°F (74°C). Because of carry-over cooking, you can pull the chicken at 160°F, and the temperature will rise to the perfect 165°F while resting under the warm cheese and pesto.
Meal Prep Mastery: How to Batch Cook and Reheat
Pesto Mozzarella Chicken Cutlets are essentially designed for meal prep. The fats in the pesto and cheese act as a preservative for the texture of the meat.
Storage Strategies
- Refrigeration: Store in airtight containers for up to 4 days.
- Freezing: You can freeze these after they are cooked. Wrap each cutlet individually in plastic wrap, then place them in a freezer bag. They stay fresh for up to 2 months. Thaw in the fridge overnight before reheating.
Reheating Without Drying Out
The microwave is the enemy of chicken breast. To keep the cutlets juicy:
- Oven/Toaster Oven: Reheat at 350°F for 10 minutes until the cheese is bubbly again.
- The “Water Trick” (Microwave): If you must use a microwave, place a small cup of water in the corner of the microwave. The steam will help keep the chicken from becoming rubbery.
- Air Fryer: 3-4 minutes at 375°F will revive the crispy edges of the cheese perfectly.
Creative Variations: Keeping It Fresh
If you plan on making this recipe a weekly staple, you might want to vary the flavors to avoid “palate fatigue.”
- The “Caprese” Style: Add a slice of heirloom tomato between the pesto and the mozzarella. Finish with a drizzle of balsamic glaze after cooking.
- The Spicy Kick: Mix a teaspoon of red pepper flakes or Calabrian chili paste into the pesto for a spicy Italian twist.
- The Sun-Dried Swap: Use sun-dried tomato pesto (pesto rosso) instead of traditional basil pesto for a sweeter, tangier profile.
- The Panko Crunch: Mix some panko breadcrumbs with a little melted butter and sprinkle them over the mozzarella before broiling for an added textural element.
Nutritional Insights: A Healthy Powerhouse
For the health-conscious eater, Pesto Mozzarella Chicken Cutlets offer a dense nutritional profile.
- Protein: Chicken breast is one of the leanest sources of high-quality protein, essential for muscle repair and satiety.
- Healthy Fats: Olive oil and pine nuts in the pesto provide monounsaturated fats, which are heart-healthy and help with the absorption of fat-soluble vitamins (A, D, E, and K).
- Calcium: Mozzarella provides a significant boost of calcium and phosphorus for bone health.
- Micronutrients: Basil is rich in Vitamin K, which is vital for blood clotting and bone metabolism.
Serving Ideas: What Goes Best with Pesto Chicken?
Because the flavor profile is so robust, you want sides that either complement the richness or provide a refreshing contrast.
Low-Carb Pairings
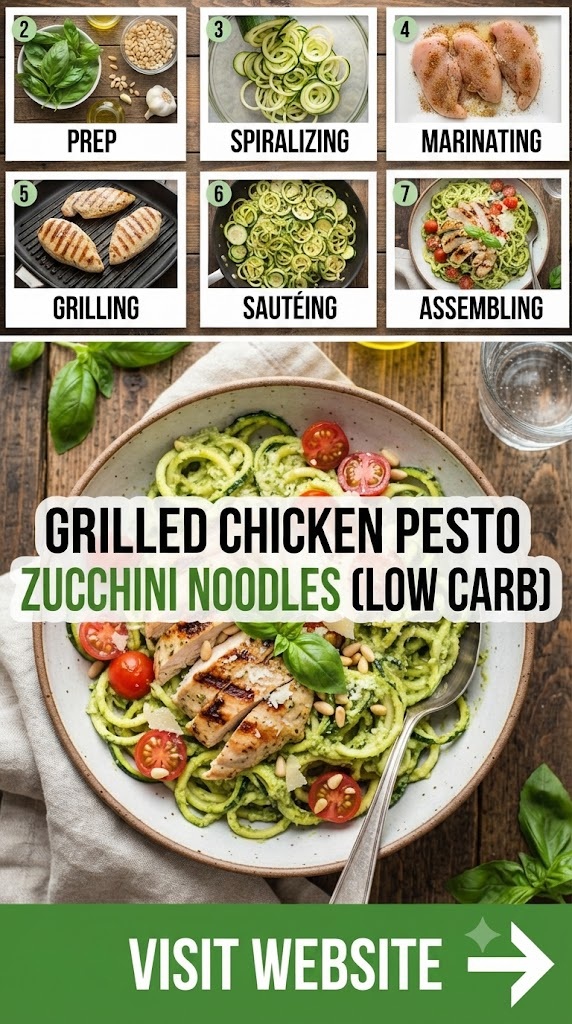
- Zucchini Noodles (Zoodles): Tossed in a little extra pesto and lemon juice.
- Roasted Asparagus: Drizzled with olive oil and garlic.
- Cauliflower Mash: A creamy, keto-friendly alternative to mashed potatoes.
Classic Comfort Pairings
- Orzo Pasta: Mixed with fresh spinach and feta cheese.
- Garlic Smashed Potatoes: The crispy texture of the potatoes pairs perfectly with the soft cheese.
- Arugula Salad: The peppery bite of fresh arugula with a lemon vinaigrette cuts through the richness of the mozzarella.
Frequently Asked Questions
Can I use frozen chicken?
Yes, but ensure it is completely thawed and patted dry. Frozen chicken often releases more water during cooking, which can prevent the chicken from searing properly and make the pesto slide off.
Is this recipe gluten-free?
Yes, as long as your pesto does not contain fillers and you do not use a flour dredge, this recipe is naturally gluten-free.
My pesto turned brown in the oven. What happened?
Basil is sensitive to high heat. If your broiler is too close to the chicken, the basil will oxidize and turn brown. This doesn’t affect the safety or much of the flavor, but for the best look, ensure the cheese completely covers the pesto to “shield” it from the direct heat.
Can I use chicken thighs instead?
Absolutely. Chicken thighs are even more forgiving and juicy. They will require a slightly longer cooking time in the skillet (about 5-7 minutes per side) before adding the toppings.
Troubleshooting Common Mistakes
- The Toppings Sliding Off: This usually happens if there is too much moisture on the chicken or if the pesto is too oily. Ensure you sear the chicken well to create a “shelf” for the toppings. If using very oily pesto, drain a little of the excess oil from the top of the jar before using.
- Rubbery Chicken: This is a sign of overcooking. Remember that the chicken continues to cook under the broiler. Pull it off the skillet when it’s about 80% done.
- Bland Taste: If the dish feels like it’s missing something, it’s usually acidity. Squeeze a fresh lemon wedge over the finished chicken. The acid will brighten the heavy fats of the cheese and pesto.
Conclusion: Why You Should Cook This Tonight
The Pesto Mozzarella Chicken Cutlet is more than just a recipe; it’s a strategy for better eating. It proves that “healthy” doesn’t have to mean “boring” and that “meal prep” doesn’t have to mean “stale.” By mastering the simple techniques of searing, layering, and broiling, you unlock a flavor combination that is universally loved.
In less than 30 minutes, you can have a batch of juicy, cheesy, herbaceous chicken ready for the dinner table or for four days of enviable office lunches. It is a testament to the idea that with a few high-quality ingredients and the right methods, gourmet cooking is accessible to everyone.
So, grab a jar of pesto, a ball of mozzarella, and some chicken—your future self (and your taste buds) will thank you.